- Home
- Massage & Tools
- Kansa Wand Massage Tool
Kansa Wand Massage Tool: Does It Really Work & Is It Safe?
Many people discover the Kansa wand after hearing bold claims online — or warnings about side effects, gray residue, or whether it’s even legitimate.
I’ll be upfront: the Kansa wand isn’t a miracle tool, but it’s also not a hoax.
When used correctly, it works as a facial massage tool that helps relax tension, encourage circulation, and reduce puffiness — which can subtly improve how the face looks and feels over time.
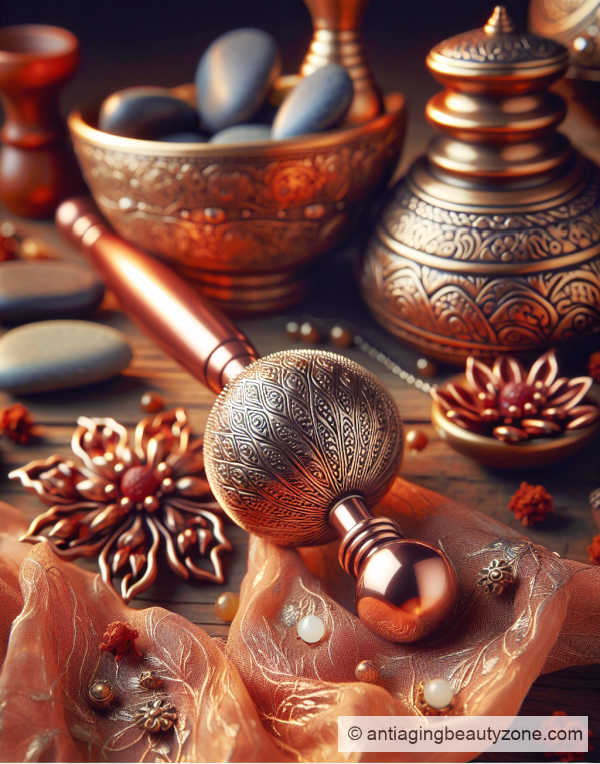
This facial massage tool is said to help release tension, reduce puffiness, and promote a sculpted appearance. Some even claim it outperforms popular tools like the gua sha and jade roller.
Many women notice that even with good skincare, their face can still look tired, puffy, or less lifted — especially around the jaw and cheeks.
That’s because skincare works on the surface, while facial massage addresses tension and circulation underneath, which can affect how the face looks overall.
What makes the Kansa wand unique?
The Kansa wand doesn’t replace gua sha or rollers—it provides a different type of facial massage. Its smooth, domed shape applies deeper, more even pressure, making it especially effective for muscle relaxation and tension release.
This isn’t just another trendy tool. The Kansa wand has been used for centuries, valued for its ability to enhance circulation and promote a more lifted, radiant look.
Made from a blend of copper and tin, it’s traditionally believed to support skin balance, though there’s no scientific proof that it affects pH levels.
However, copper itself has well-documented benefits for skin health, including antimicrobial properties and potential collagen support. You can read more about the science behind copper skin benefits here.
What is certain is its long history as a go-to tool for a rejuvenating facial massage.
Ready to see why it's popular?
How kansa works?
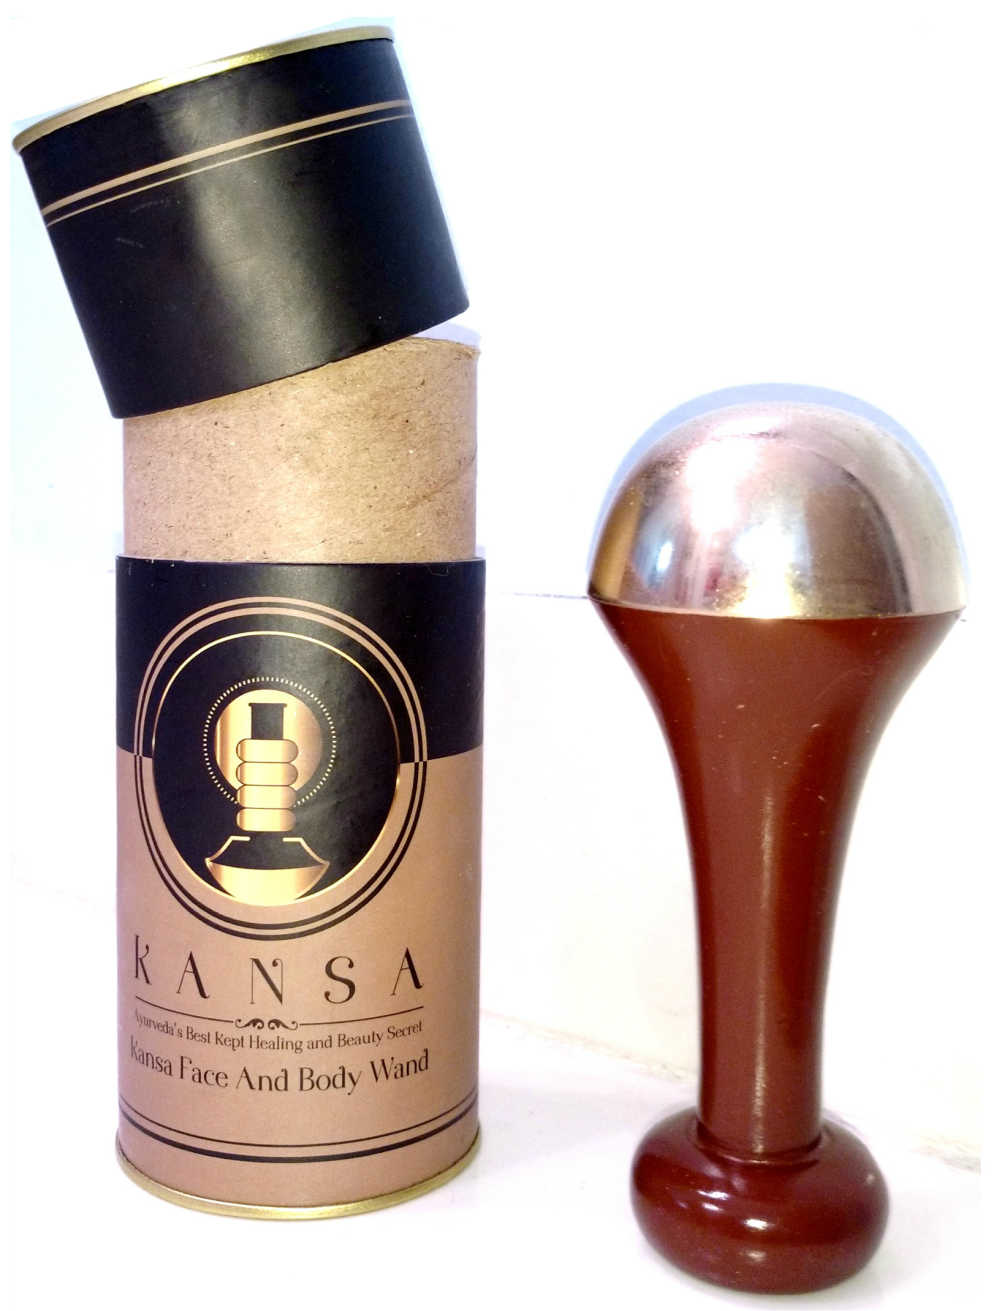
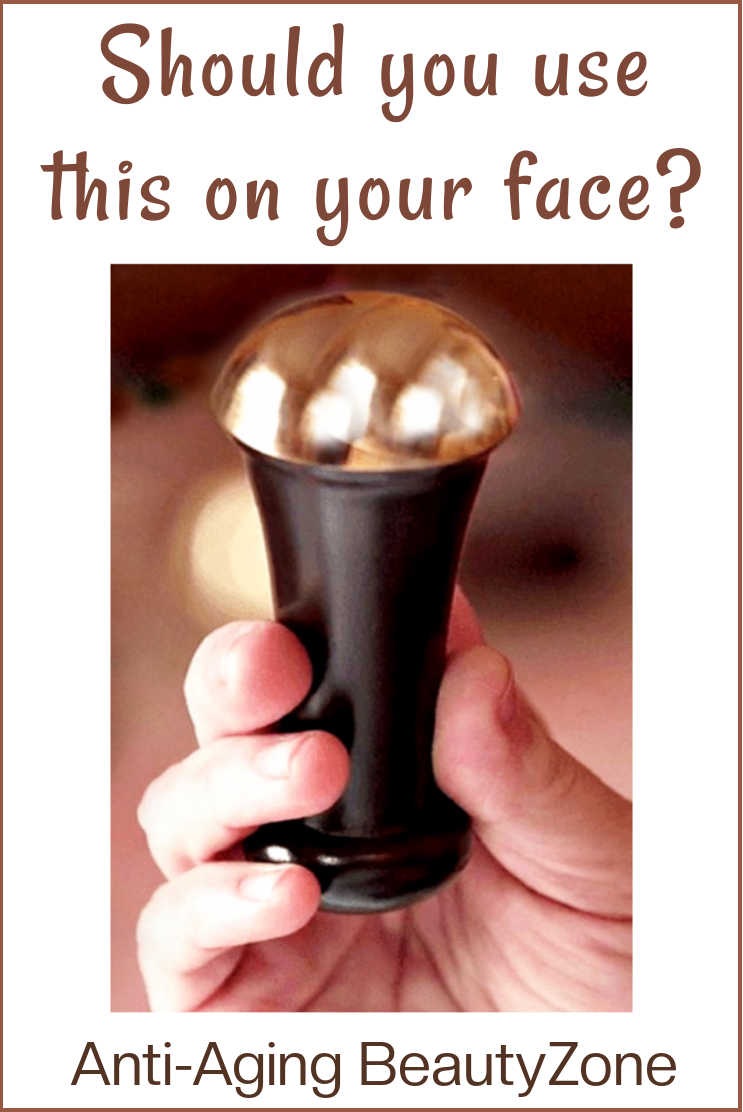
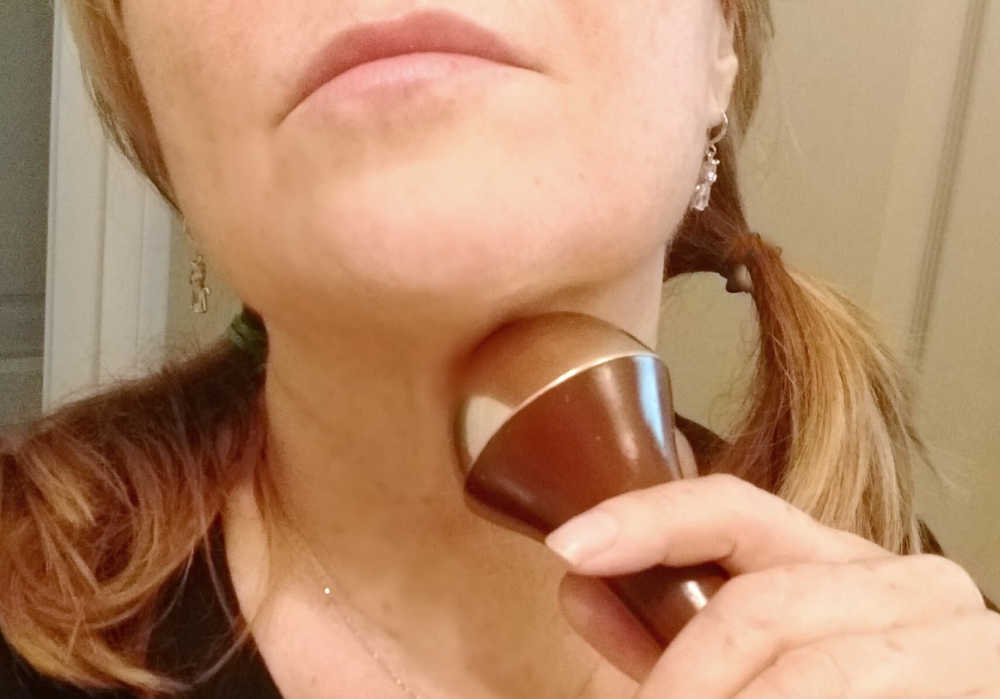 This is my kansa wand. While I use it all over my face and neck, I especially like to de-puff my under chin area.
This is my kansa wand in the picture above. I always use it all over my face and neck, but especially like to de-puff my under chin and jowl area.
I knew I was on to something special when that smooth, cooling bronze dome (sitting on top of a 100% teak wooded handle) glided across my face.
After I finished the massage, my skin had a rosy glow, like I just had a facial. And my face looked more relaxed and less lined, especially around my eyes.
Benefits:
Facial massage is known to boost circulation, release tension, and reduce puffiness, and the Kansa wand is simply a tool that makes this process easier.
What a facial massage can do (with or without a kansa wand):
- Improves blood circulation for a healthy glow
- Encourages lymphatic drainage
- Reduces puffiness (e.g., under-eye bags)
- Relaxes tight facial muscles
- Supports collagen production & elasticity over time
- Softens the look of fine lines & wrinkles
Added Benefit: Giving yourself a facial massage can be tiring on your fingers and hands. Especially for those with arthritis or joint issues. While gua sha is great for sculpting and rollers feel cooling and refreshing, the Kansa wand delivers a more effortless deep-tissue massage, with less hand fatigue.
Ayurvedic massage tool: Before and after photos
My Before & After Photos
Here are my before and after photos after using this Ayurvedic wand for about 5-8 minutes.
 My before kansa wand massage picture.
In the after photo below, my jaw line looks a bit firmer, at least in my opinion. 😉 And, that little bit of crinkling on the bottom jawline is smoother.
 My after kansa wand massage picture. My face seems a little more contoured.
Kansa Wand vs. Gua Sha vs. Rollers
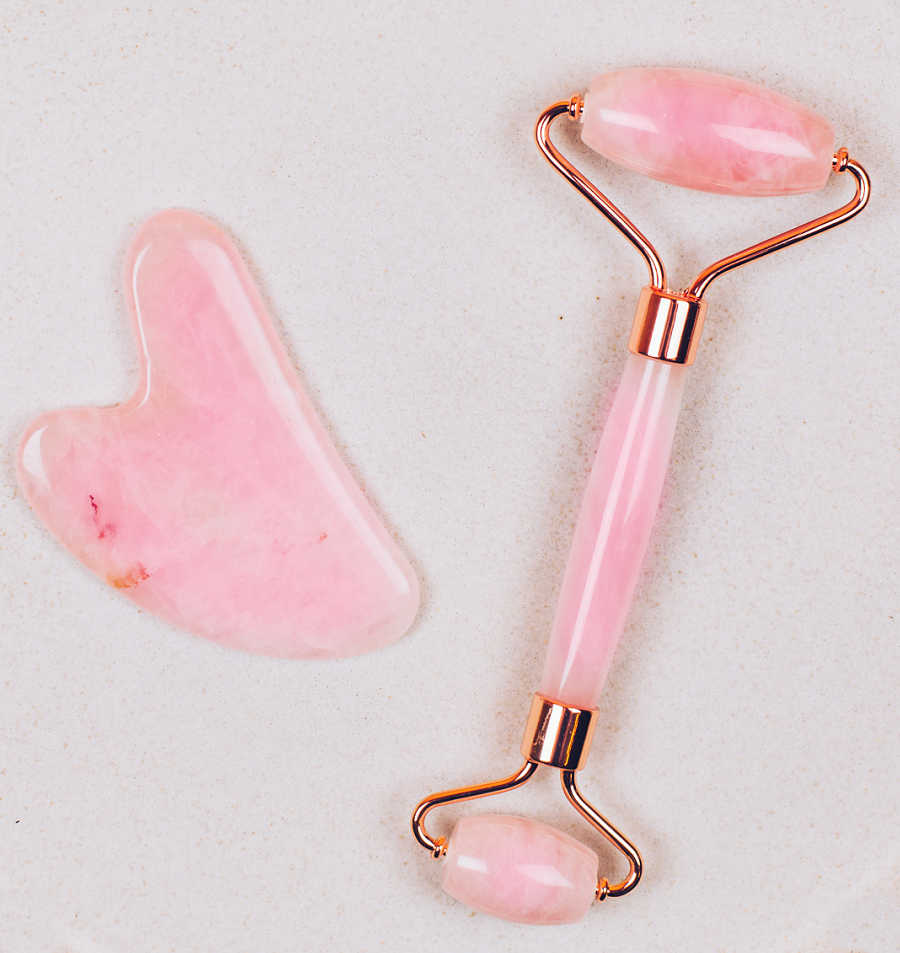
Kansa Wand Vs. Gua Sha Vs. Rollers
Jade Roller:
- Small cylinder shape
- Cannot effectively encourage drainage and depuff the face and eyes
Gua Sha:
- More effective than the roller due to its curved shape
- Smooth, flat edge can "scrape" and encourage fluid drainage
- A heated/vibrating gua sha also helps product absorption
Kansa:
- Smooth, rounded copper head
- Applies deep pressure to stimulate and firm facial muscles
- Encourages more draining without pain
- Naturally anti-microbial copper dome
- Comfortable wooden handle
Each tool has its benefits. Gua sha’s scraping motion is great for sculpting, jade rollers provide a cooling glide, and the Kansa wand excels at deep relaxation and tension release. Its weight and domed shape make it feel more like a professional massage, reaching deeper layers of tissue with minimal effort.
How does the Kansa face massager help with wrinkles?
When your face holds tension, muscles tighten and pull the skin downward, exaggerating lines and folds. This is why Botox is so popular—it keeps the face relaxed.
Facial massage can have a similar relaxing effect by releasing tension, which may help expression lines look less emphasized. While gua sha and rollers help with lymphatic drainage, the Kansa wand’s deep, circular motion works differently, reaching deeper layers to relax muscles in a way that hands alone can’t.
A small L’Oréal study on women aged 40–60 found that just three minutes of facial massage with oil improved skin’s appearance, reducing wrinkles and boosting radiance.
Note: While no tool is clinically proven to erase wrinkles, regular massage may support healthier-looking skin.
How to use the Kansa wand
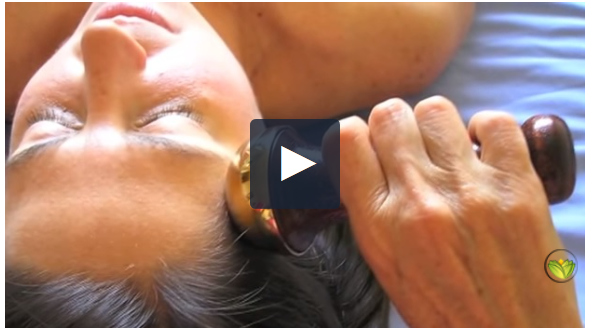
Below is a great video showing how to use this copper wand for face and neck massage, along with Ayurvedic tips for glowing skin.
Note: You don't have to follow any specific massage technique with this ayurvedic tool. Feel free to use it any way that works and feels best for you.
Steps:
- Dab some organic face oil all over your face and neck.
- Place the bronze dome on your forehead and, with moderate pressure, massage back and forth across your forehead.
- Massage the temple and crow's feet area in small circles.
- Slide the copper dome all around the orbital bone of one eye.
- Move to the nose and slide from the nose out towards the temple and ears.
- Glide it back and forth along the entire jaw bone.
- Massage across the whole double chin area and up and down your neck.
- Repeat on the other side of the face.
Frequency:
Use it 3 times a week with a rest day in-between sessions.
What kind of oil to use
Just dab some organic face oil all over your face and neck. Any good quality face oil will do like this one. Or this Black Gram Kansa Organics Oil that helps lighten skin tone and discoloration.
Where to buy the wand
Can you buy it Amazon? Yes, but according to their website, the company says:
Beware of imitations! The original can be found at this link. It's made of high quality wood and lab tested metals. It also comes in a vacuum sealed package with a beautiful travel box - so it stays protected and hygienic.
Please note: This holistic massage wand is often sold out because of its popularity.
If so, check here for a full size wand with FREE face oil. Or if that's sold out also try this link for the smaller face wand.
Kansa wand side effects on the face: The graying effect
Why you might see a gray film
Some people notice a light gray or dark film after using a Kansa wand. That can happen because the copper dome reacts with natural skin moisture, oils, and your skin’s natural acidity during massage.
It’s not dirt, toxins, or anything coming out of your skin — just a harmless surface reaction on the metal. It doesn’t mean the wand is working better or worse, and many people never see it at all. A quick wipe of the wand after use is all that’s needed.
Note: If you have sensitive skin or issues with dermatitis or acne, try the wand on a small area first to gauge how your skin will react.
Kansa Wand - FAQ's
If you don't find the answer to your question below, feel free to contact me.
Q: What is the kansa wand graying effect?
Q: What is the kansa wand graying effect?
A: The gray film is a harmless surface reaction that can happen when the copper dome meets natural skin oils and moisture during massage. It’s not dirt or toxins, and it doesn’t mean the wand is working better or worse. Just wipe your skin (and the dome) with a damp cloth after use.
Q: How often should you use a Kansa wand?
Q: How often should you use a Kansa wand?
A: I try to use it at least once a week or if I'm stressed and look tired. However, you can use it as often as you like.
Q: What does a Kansa wand do?
Q: What does a Kansa wand do?
A: The Kansa wand reduces facial tension, softening lines and wrinkles. It also de-puffs and sculpts your face and neck, enhancing facial contours.
Q: Which is better gua sha or Kansa wand?
Q: Which is better gua sha or Kansa wand?
A: Both tools are great but offer different benefits. I prefer the Kansa wand for deep muscle stimulation without discomfort, while a quality Gua Sha can include extras like heating, vibration, microcurrent, and red-light therapy. The wand excels in muscle stimulation and lymphatic drainage. Learn more about a 4-way Gua Sha device and its benefits here.
Q: How do you clean a kansa wand after use?
Q: How do you clean a kansa wand after use?
A: Wipe it down with a soft cloth after each use. You can also dip the metal dome into a bowl of mild-soapy water and rinse& dry well. Do not clean the wooden handle, just the metal dome.
Q: Which oil is best for kansa wand?
Q: Which oil is best for kansa wand?
A: Any good quality oil that can be used on your face will work. Coconut or jojoba oil. Look for 100% natural oil essence extracted from plants that naturally contain anti-aging ingredients like rosehip seeds oil or cypress leaf oil
Q: Is kansa the same as a gua sha?
Q: Is kansa the same as a gua sha?
A: The Kansa wand and Gua Sha are not similar. Gua Sha, a traditional Chinese technique, uses a smooth-edged tool to scrape or rub the skin, boosting blood flow and promoting healing
Q: Can this be used else where beside the face?
Q: Can this be used else where beside the face?
A: Yes, Kansa therapy wand can be used on the body and the feet too!
Q: Is this the same as the Ranavat Kansa wand detoxifying facial massage tool?
Q: Is this the same as the Ranavat Kansa wand detoxifying facial massage tool?
A: I never tried Ranavat Kansa wand, but they do look similar from what I can tell online.
Q: Is there another name for Kansa face wand?
Q: Is there another name for Kansa face wand?
A: The Kansa Wand is sometimes referred to as the "Kansa Massage Wand" or simply "Kansa Wand Massager."
It is a traditional Ayurvedic massage tool made of Kansa metal, which is a blend of copper and tin, believed to have therapeutic benefits for the skin and body.
Q: Yes, the Kansa Wand is real?
Q: Yes, the Kansa Wand is real?
A: Yes, it's a traditional Ayurvedic tool with a metal dome, used for facial massage to reduce tension, improve circulation, and enhance lymphatic drainage.
Q: Why do people think the Kansa Wand is a hoax?
Q: Why do people think the Kansa Wand is a hoax?
A: Some think the Kansa Wand is a hoax because its benefits, like tension relief and improved circulation, can seem exaggerated or mystical. Skepticism also arises from a lack of scientific studies, despite its roots in Ayurvedic tradition.
Q: What makes the Kansa Wand effective?
Q: What makes the Kansa Wand effective?
A: The Kansa Wand is effective due to its bronze dome, which balances skin pH, boosts circulation, and promotes lymphatic drainage while relieving facial tension.
Q: Is there any truth to Kansa Wand skepticism?
Q: Is there any truth to Kansa Wand skepticism?
A: Yes, skepticism about the Kansa Wand often stems from limited scientific studies and doubts about its copper dome's benefits. While its 5,000-year Ayurvedic history and user testimonials support its effectiveness, proper technique and personal experience are key to seeing results.
References:
- CNN March 30, 2015
- Borkow, Gadi. “Using Copper to Improve the Well-Being of the Skin.” Current Chemical Biology, Bentham Science Publishers, Aug. 2014, www.ncbi.nlm.nih.gov/pmc/articles/PMC4556990
- Dr. Jambla Neha "A Review on Kansya: The Bell Metal." International Journal of Research in Pharmacy and Pharmaceutical Sciences ISSN: 2455-698X; Impact Factor: RJIF 5.22 www.pharmacyjournal.in Volume 2; Issue 1; January 2017; Page No. 10-13
Other Massage Options:
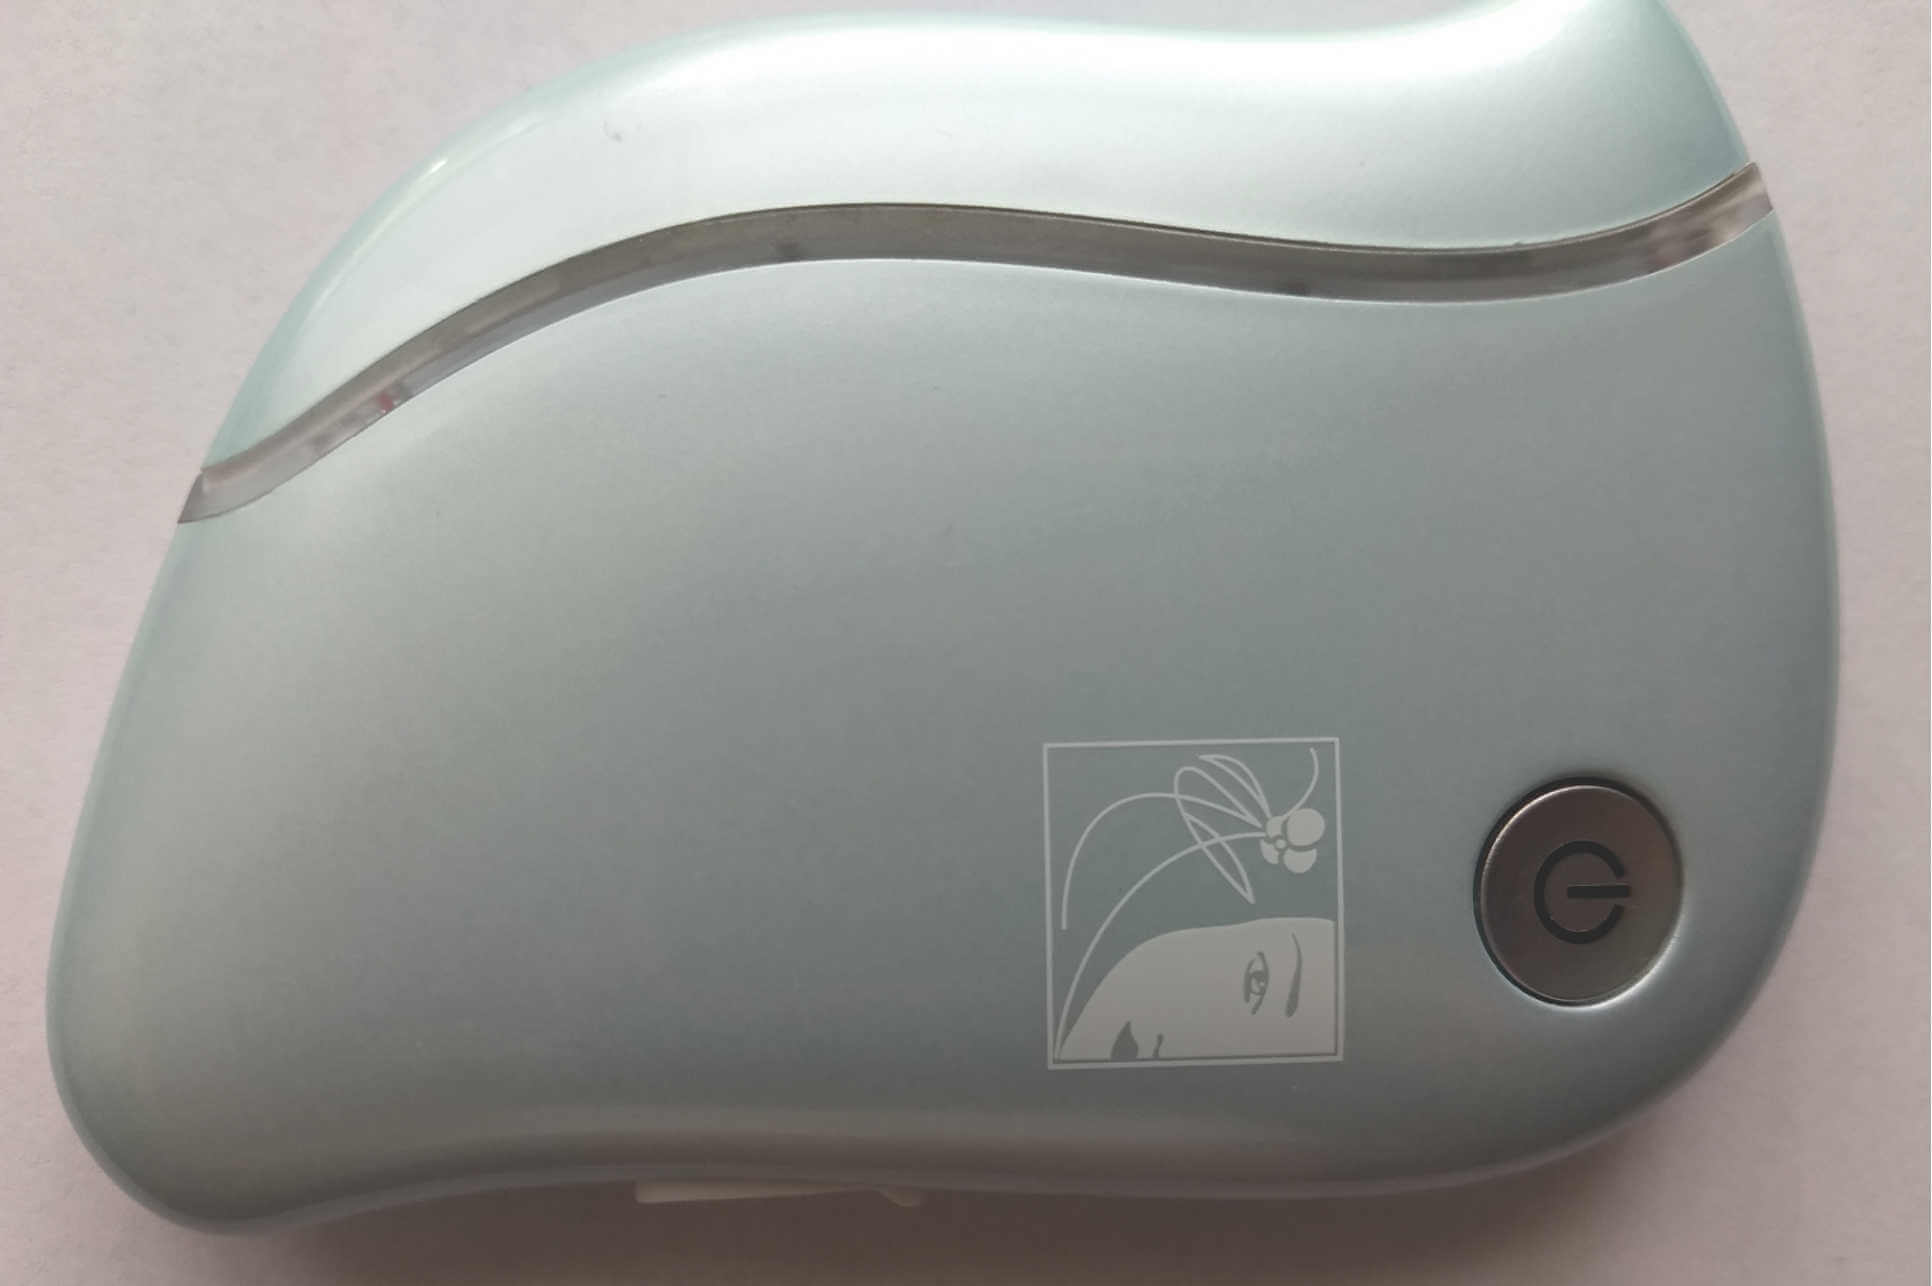
Gua Sha Massage How To: Easy 4-in-1 Electric Tool for Face & Neck
Amazing facial treatment with this heated, vibrating, microcurrent, red-light device. Watch this video
What is Gua Sha Facial - Treatment and Benefits
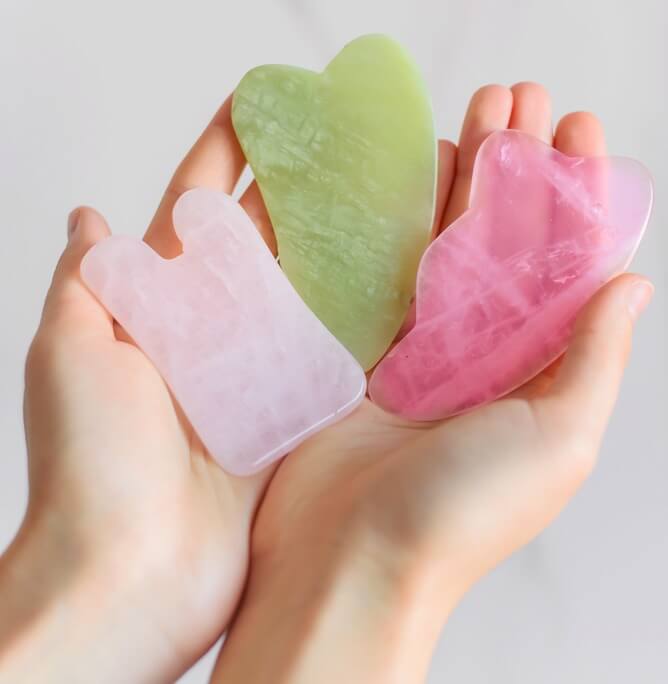
What is Gua Sha? How to use it for anti-aging benefits for younger looking face and skin.
Want More?
I share quick routines, beauty tweaks, and what’s working for me — straight to your inbox. Join the Club and get this free Cheek Shaper Video.
About the Author:
Linda Robison is a Facial Fitness Specialist and the founder of Anti-Aging Beauty Zone. With decades of hands-on experience, she shares practical, natural ways to lift and brighten mature skin—without expensive or invasive treatments.
Before you go ....
Please tap on the💙in the bottom right corner if you found this page helpful.
FOLLOW ME FOR MORE TIPS:
SHARE OR SAVE FOR LATER:
