Lip Balm Recipe: Get smoother, less wrinkled lips
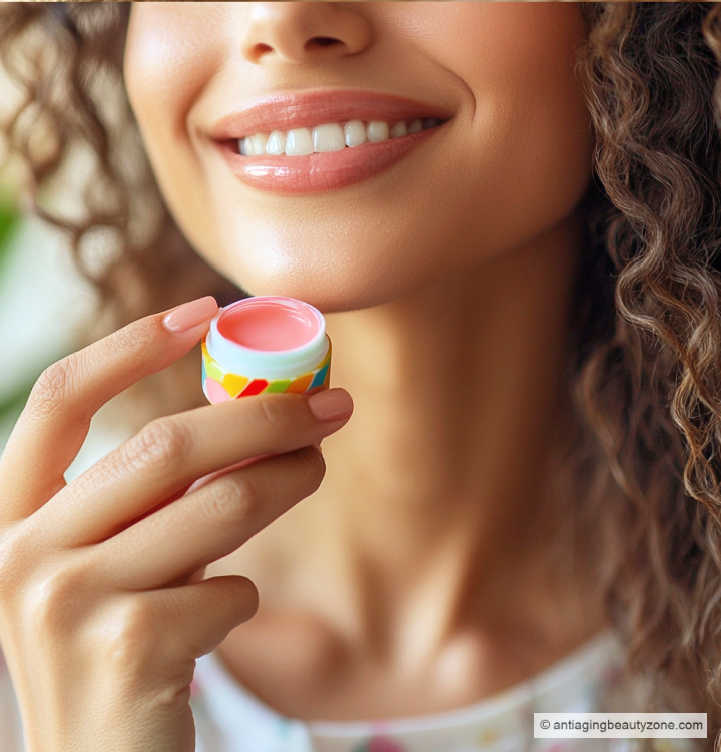
I'll show you how to create a DIY organic lip balm recipe with antioxidants for smoother, age-defying lips. Perfect for a natural, chemical-free beauty routine!
Did you know that creating homemade lip balms has a rich history, dating back to ancient times. People have long sought effective ways to keep their lips soft and reduce wrinkles.
I find making my own lip balm at home is pretty simple but very rewarding! 😊 Comon, let me show you how ...
Why Make Your Own Lip Balm?
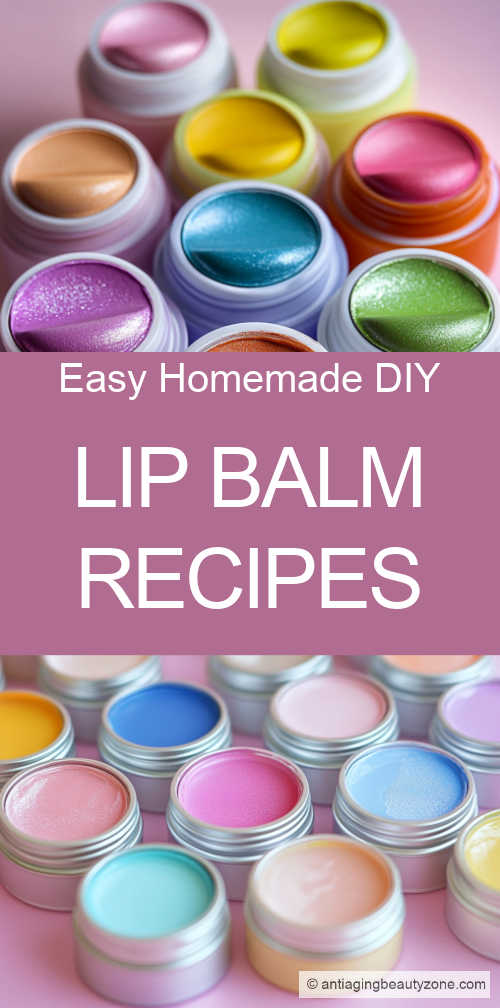
Making lip balm at home presents numerous benefits worth considering. Here are several reasons to invest the time into this enjoyable process.
Ingredient Control: By creating balms in your own kitchen, individuals can carefully choose the types and amounts of ingredients used. This personalized approach ensures that the final product meets specific preferences and needs.
Avoid Harmful Additives: Homemade lip balms can be free from the artificial fragrances, colors, and preservatives often found in commercial products. These additives can contribute little to the health of one's lips, and avoiding them helps to protect against premature aging.
Tailored Healing Solutions: Lip balms can be designed to target specific issues, such as damaged lips. Depending on the season or personal needs, custom balms can be made to provide the best care.
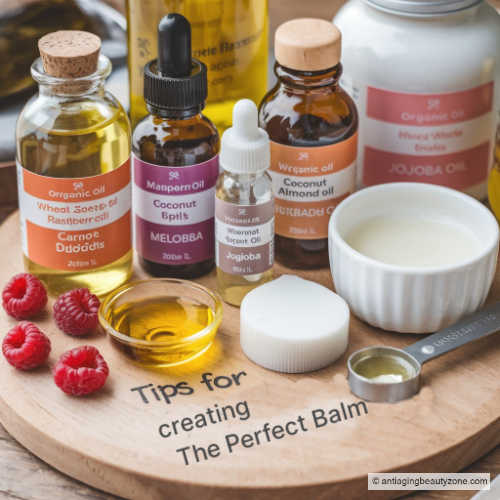
Tips for Crafting the Perfect Balm
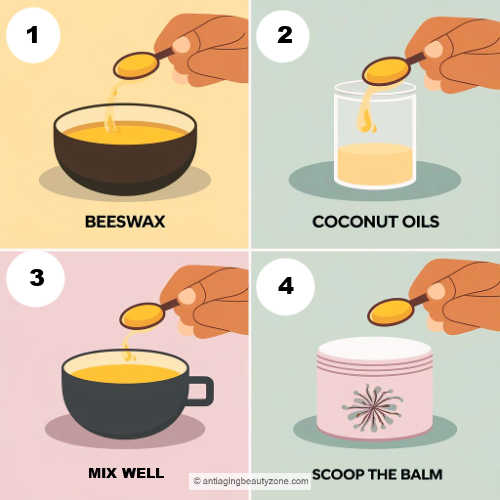
Before diving into the creation process, here are some important tips to enhance the quality of the homemade lip balm:
Choose Quality Ingredients
Selecting high-quality, organic ingredients not only benefits the user but also supports eco-friendly practices when sourcing locally produced items. Reusable containers further promote sustainability.
Select Oils with SPF
Incorporate oils that offer sun protection. Options like carrot, raspberry, and wheat germ are excellent for this purpose. Other oils such as coconut, almond, and jojoba can also provide good benefits but with lower SPF ratings.
Integrate Natural Preservatives
For extended shelf life and better protection, adding a natural antioxidant like Vitamin E is advisable. It is easily blended in and provides essential nutrients.
Utilize Cosmetic-Grade Beeswax
If the balm appears too runny, a small amount of finely shaved cosmetic-grade beeswax can help solidify the mixture. It's important to add this while the balm is still warm for the best results.
The rest of the recipe lies entirely in the hands of the creator. Experimenting with oils that bring healing benefits or introduce a refreshing minty sensation allows for personal touches. A combination such as coconut oil infused with lime or mint can evoke memories of tropical settings and sunshine.😊
Easy mint lip balm
I LOVE this one the most. Especically when my lips are dry, chapped or cracked.
To create a refreshing mint lip balm, gather the following ingredients:
- 1 capsule of Vitamin E
- 3 tablespoons of Carrot Oil
- 1 tablespoon of Coconut Oil
- 1 tablespoon of Cosmetic Beeswax
- 1 to 4 drops of Peppermint Essential Oil
These ingredients really add a lot of moisturizing benefits, and the mint helps sooth sore lips.
perfect oils for lip balms
For creating an effective lip balm, a combination of solid and liquid oils is ideal. This blend helps achieve the perfect consistency, ensuring the balm is neither too soft nor too firm.
Solid oils include:
- Coconut oil
- Mango butter
- Cocoa butter
- Shea butter
Liquid oils consist of:
- Carrot oil
- Olive oil
- Sesame oil
- Hemp oil
- Jojoba oil
- Pomegranate seed oil
- Apricot kernel oil
- Castor oil
- Sunflower oil
Note: Carrot, avocado, and sunflower oils are particularly beneficial for reducing the appearance of wrinkles.
basic measurements
For making lip balm, follow this easy measurement guide:
- 3 parts liquid oil
- 1 part solid oil
- 1 part beeswax or soy wax
A few drops of essential oils (optional). Just make sure not to use oils that can irritate the skin or ones you might be allergic too.
how to create your lip balm: steps
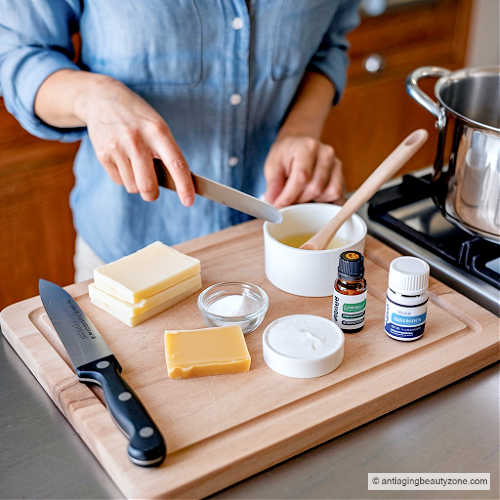
Start by measuring out both solid and liquid oils along with the shaved beeswax. Fill a saucepan with a few inches of water and set it on medium-low heat.
Combine Oils:
Pour the oils (excluding the beeswax) into a glass Pyrex measuring cup or canning jar.
Heat Mixture: Place the jar inside the saucepan filled with heated water. Let the oils melt slowly.
Add Scent:
Once melted, remove the saucepan from the heat. If desired, add a few drops of essential oil for fragrance.
Pour:
Carefully take the jar from the water using oven mitts, wiping any water from the outside. Pour the melted mixture into chosen lip pots or tins.
Experiment with various oils and scents to customize the lip balm to personal preference.
Question: What do I need to make a creamy lip balm recipe?
Question: What do I need to make a creamy lip balm recipe?
Answer: To create a creamy lip balm, several key ingredients are essential:
Beeswax: This provides firmness and structure to the balm.
Carrier oils: Options such as coconut oil, olive oil, or sweet almond oil help moisturize.
Butter: Shea butter or cocoa butter can add a creamy texture.
Flavoring or essential oils: These can enhance scent and taste while providing additional benefits.
Question: How can I make an herbal lip balm at home?
Question: How can I make an herbal lip balm at home?
Answer: To make a herbal lip balm, follow these steps:
Choose herbs: Select dried herbs like calendula or chamomile for infusing.
Infuse oils: Combine the herbs with a carrier oil and heat gently for several hours to extract their properties.
Melt and mix: Add beeswax and any additional ingredients, then melt everything together.
Pour and set: Allow the mixture to cool and solidify in containers.
Question: Can I create a lip balm without using beeswax?
Question: Can I create a lip balm without using beeswax?
Answer: Yes! Try these consider ingredients:
Candelilla wax or carnauba wax: These serve as plant-based alternatives.
Oils and butters: Mix various oils and butters like coconut oil and shea butter.
The process remains similar: melt the wax, mix it with oils, and pour into containers to set.
Question: I have very dry lips, can you give me a balm recipe for that?
Question: I have very dry lips, can you give me a balm recipe for that?
Answer: Sure. for dry lips, think about using thick butters: Shea butter or mango butter adds deep moisture and are good. Other choices inlcude:
Use emollient oils: Oils such as avocado or olive oil can hydrate the skin effectively. And consider adding ingredients like honey or aloe vera can enhance hydration and healing.
Question: What is a basic recipe for a lip balms that I want to sell?
Question: What is a basic recipe for a lip balms that I want to sell?
Answer: Here is a basic formula you can consider. Just make sure to follow local regulations for cosmetic products when preparing for sale.
Standard Recipe:
Beeswax: 1 part
Carrier oils: 2 parts (such as coconut oil or jojoba oil)
Flavor or essential oils: Added to taste
Question: How can lip balm be made using coconut oil?
Question: How can lip balm be made using coconut oil?
Answer: To create lip balm with coconut oil, you can:
Melt: Combine equal parts of beeswax and coconut oil in a double boiler.
Mix: Stir until fully melted, then optionally add essential oils or flavoring.
Pour: Transfer the mixture into containers and allow it to cool until solid.
That's it! Have fun with lip balm recipes and play around with different oils and scents. Let us know how you like these balms and feel free to share your favorite recipes!
Want More?
I share quick routines, beauty tweaks, and what’s working for me — straight to your inbox. Join the Club and get this free Cheek Shaper Video.
About the Author:
Linda Robison is a Facial Fitness Specialist and the founder of Anti-Aging Beauty Zone. With decades of hands-on experience, she shares practical, natural ways to lift and brighten mature skin—without expensive or invasive treatments.
Before you go ....
Please tap on the💙in the bottom right corner if you found this page helpful.
FOLLOW ME FOR MORE TIPS:
SHARE OR SAVE FOR LATER:
